Pages Book Projects

Light Up Bookish Presents
-
![]()
Cutting the frame
-
![]()
Ready to refold inside-out
-
![]()
Frames, taped and ready
-
![]()
Gluing pages on frame
-
![]()
Base layer almost done
-
![]()
I originally had 3 frames
-
![]()
All layers done
-
![]()
Light ‘em up!


I saved a couple empty Halloween candy boxes for this project. First I undid the seams and refolded the box inside-out to soften up the folds, then I made my frame by cutting out all six sides of the larger panels leaving a border around the folded edges. I then carefully refolded the box frame inside-out and taped the seams back together. I wanted the coloured side on the inside to make sure no colours showed through on my finished project.
After I had my box frames taped back together and relatively sturdy, I ripped a bunch of pages out of an old book. For the base layer I glued full pages onto the frame to completely fill five sides, leaving the sixth side open so that I could place a light underneath it. As I glued these full pages I tried to keep them upside down or sideways so the words are harder for the eye to focus on. Once I had my base layer done I tore more book pages into smaller strips and shapes and started layering these onto my present.
When you’re happy with your layering, you’re basically done. Add some ribbon or a bow on top and place a battery operated tea light underneath. So pretty!
*As a side note, partially layered frames are irresistible to curious kitties. Plan accordingly.

Book Pumpkin

This will be hard for some book lovers to hear but you will need to be able to bend both the covers of the book back all the way until they touch and you’ll need to be able to take a blade to the pages.
It may hurt your heart a little bit! But your Autumn decor display will thank you!

I used a very sharp exacto knife and a cutting board for this project. And I made a couple different sizes of templates in the shape of a half pumpkin.
I tore the front and back cover off the book and turned it so the words were upside down. Starting from the spine side, I slowly but firmly cut around my template.
Be sure to press the blade away from you and your fingers!

Depending on how hard you can (safely!) press down on your blade will determine how many pages the knife cuts through.
After each full top to bottom cut I slowly peeled the cut pages up and away from the spine. These pages ripped away from the spine glue pretty easy and soon I could see my half pumpkin come into shape.

As I cut deeper into the book I noticed my page edges did not line up perfectly and that’s okay. The best pumpkins are the imperfect ones right.
After I cut all the way through the book I tidied up all the messy edges and carefully opened the book so the spine curved and the first page came all the way back to meet the last page. But before I actually attached these pages I needed to paint the page edges!
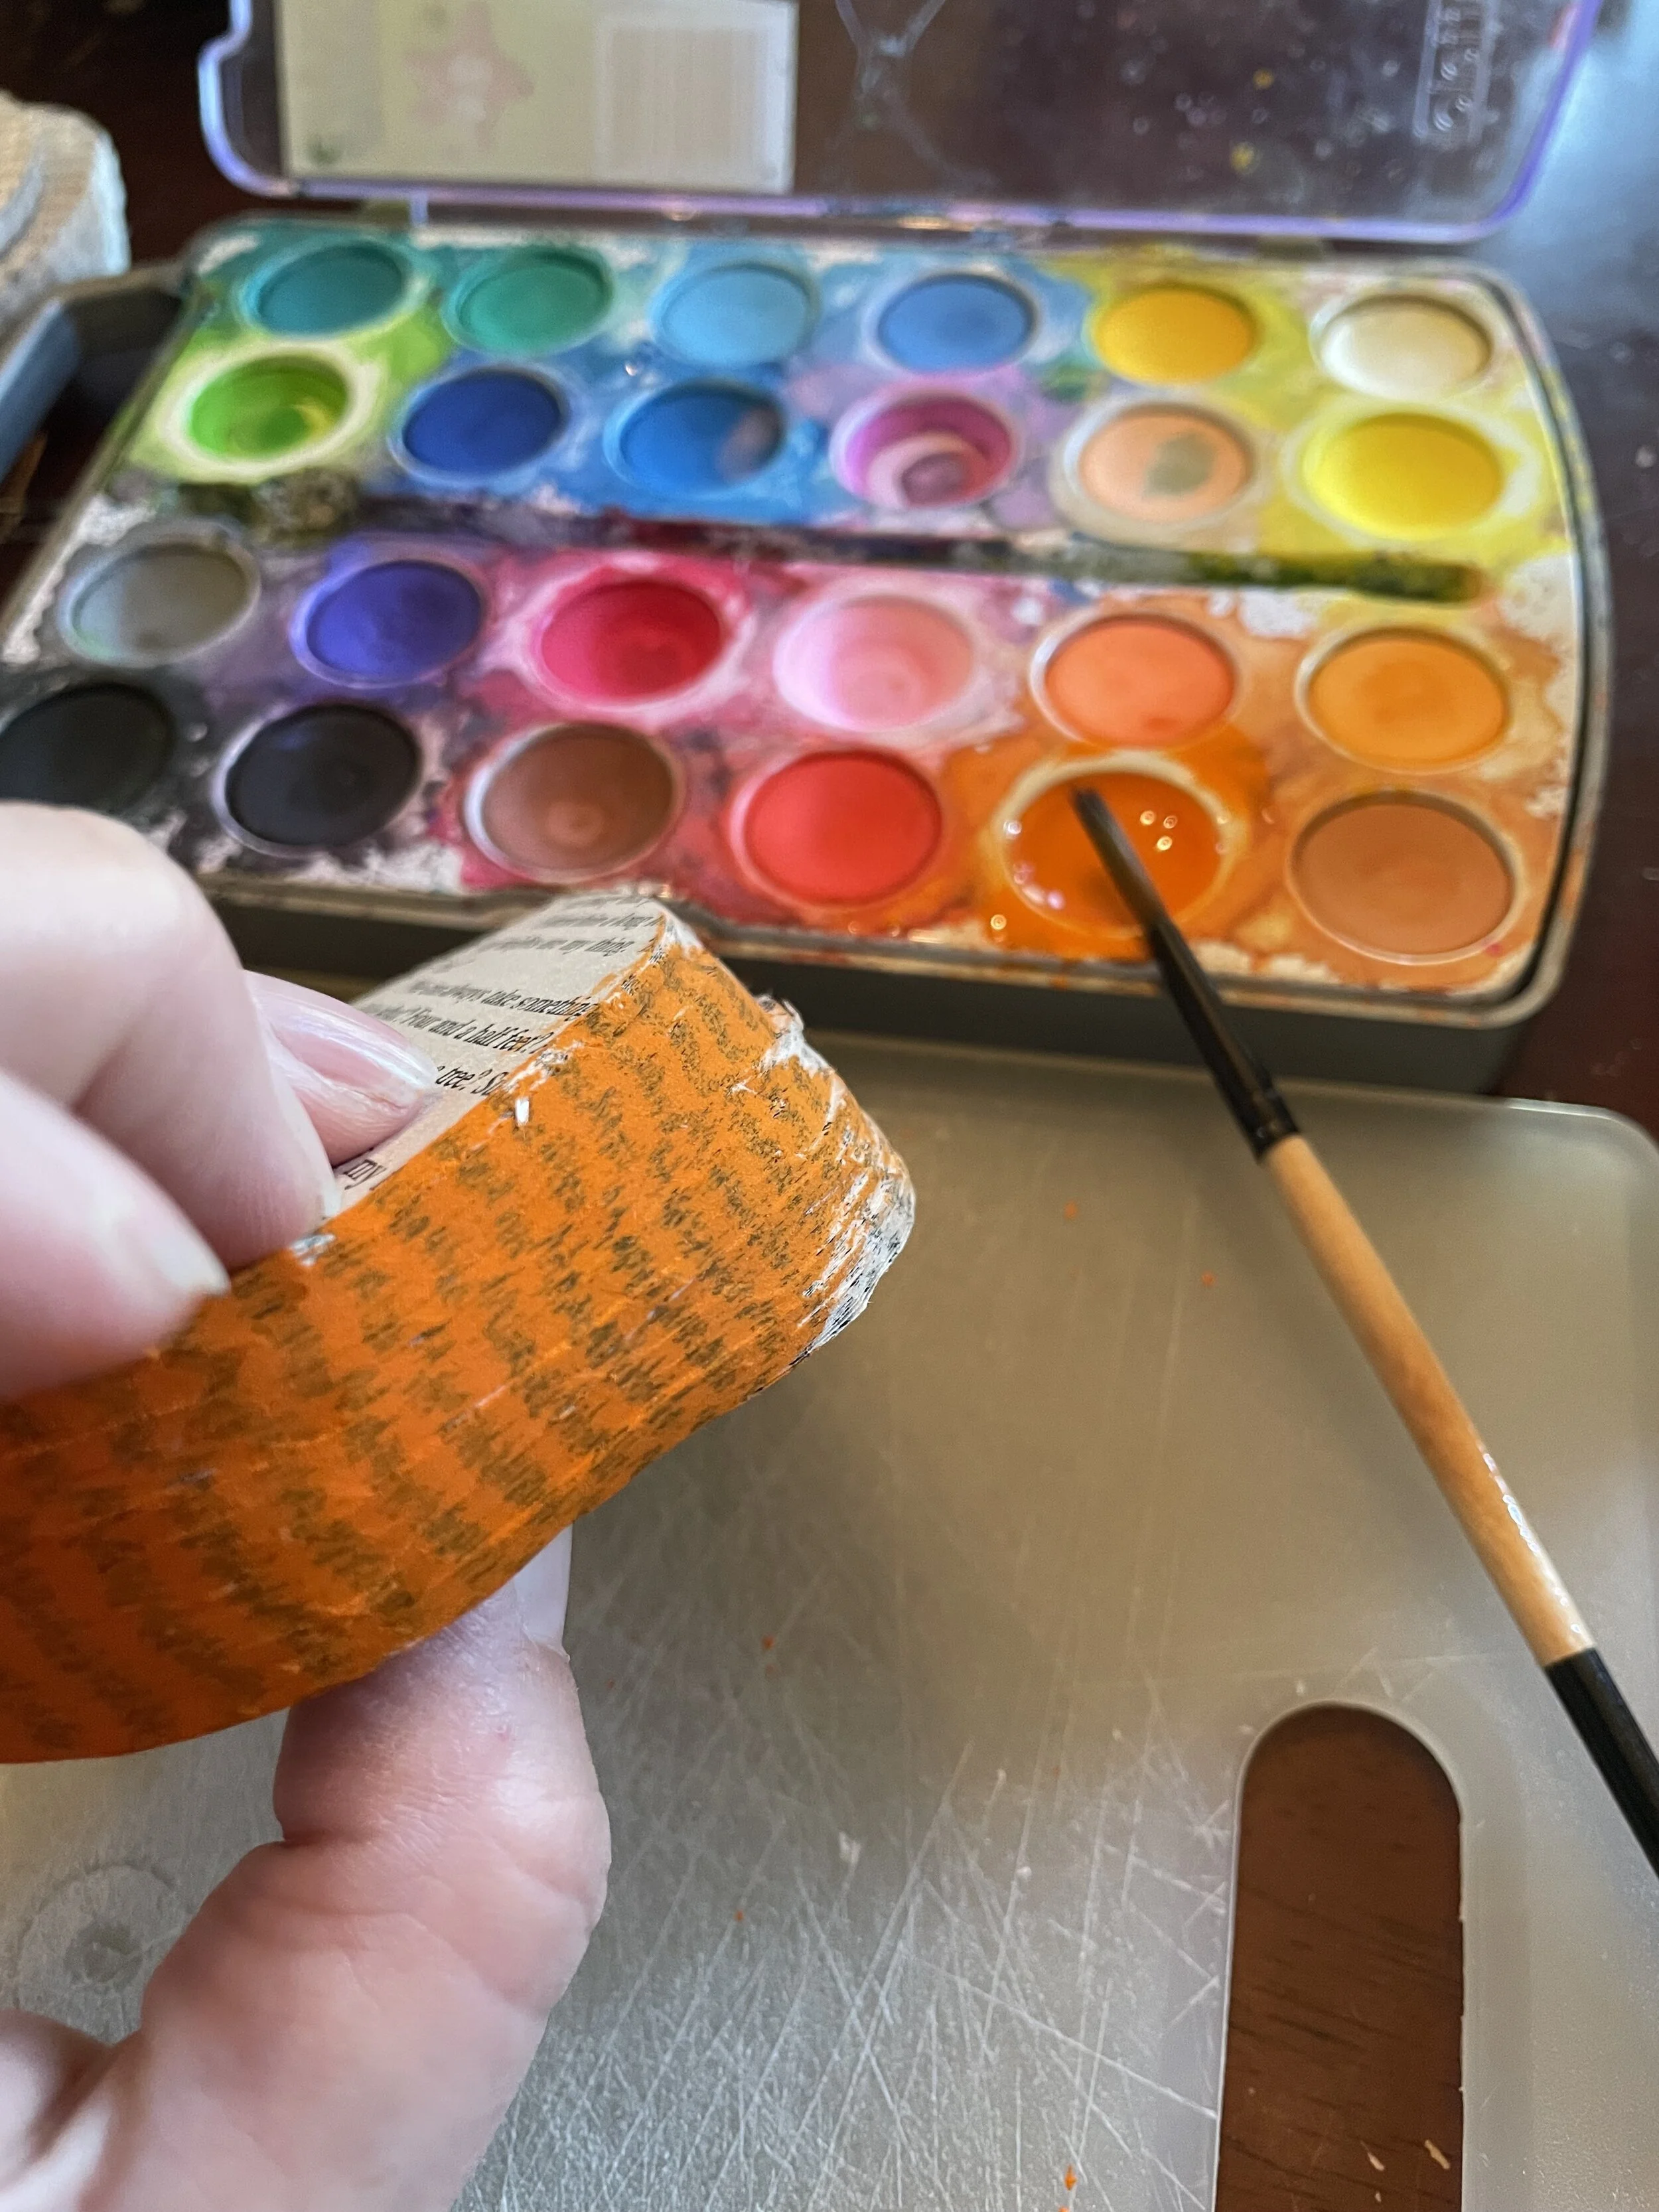
I had watercolours on hand so that’s what I used but use what you have. Spray paint. Acrylic. I’m sure crayons would even work. Pressing the pages together as I painted helped me get better coverage.
After it dried I re-opened the book into my pumpkin shape. I decided that I was going to place a paperclip at the top and bottom of the seam instead of glue so I could fold the book up for easy storage.

I headed outside for a walk to get some fresh air and a stick for the stem.
Voila!
This was a fairly easy project, though cutting a couple in a row did make my fingers ache. There are a ton of video tutorials on line. If you need more detailed or verbal intructions please look one of those up.
Book Clutch

Be inspired!
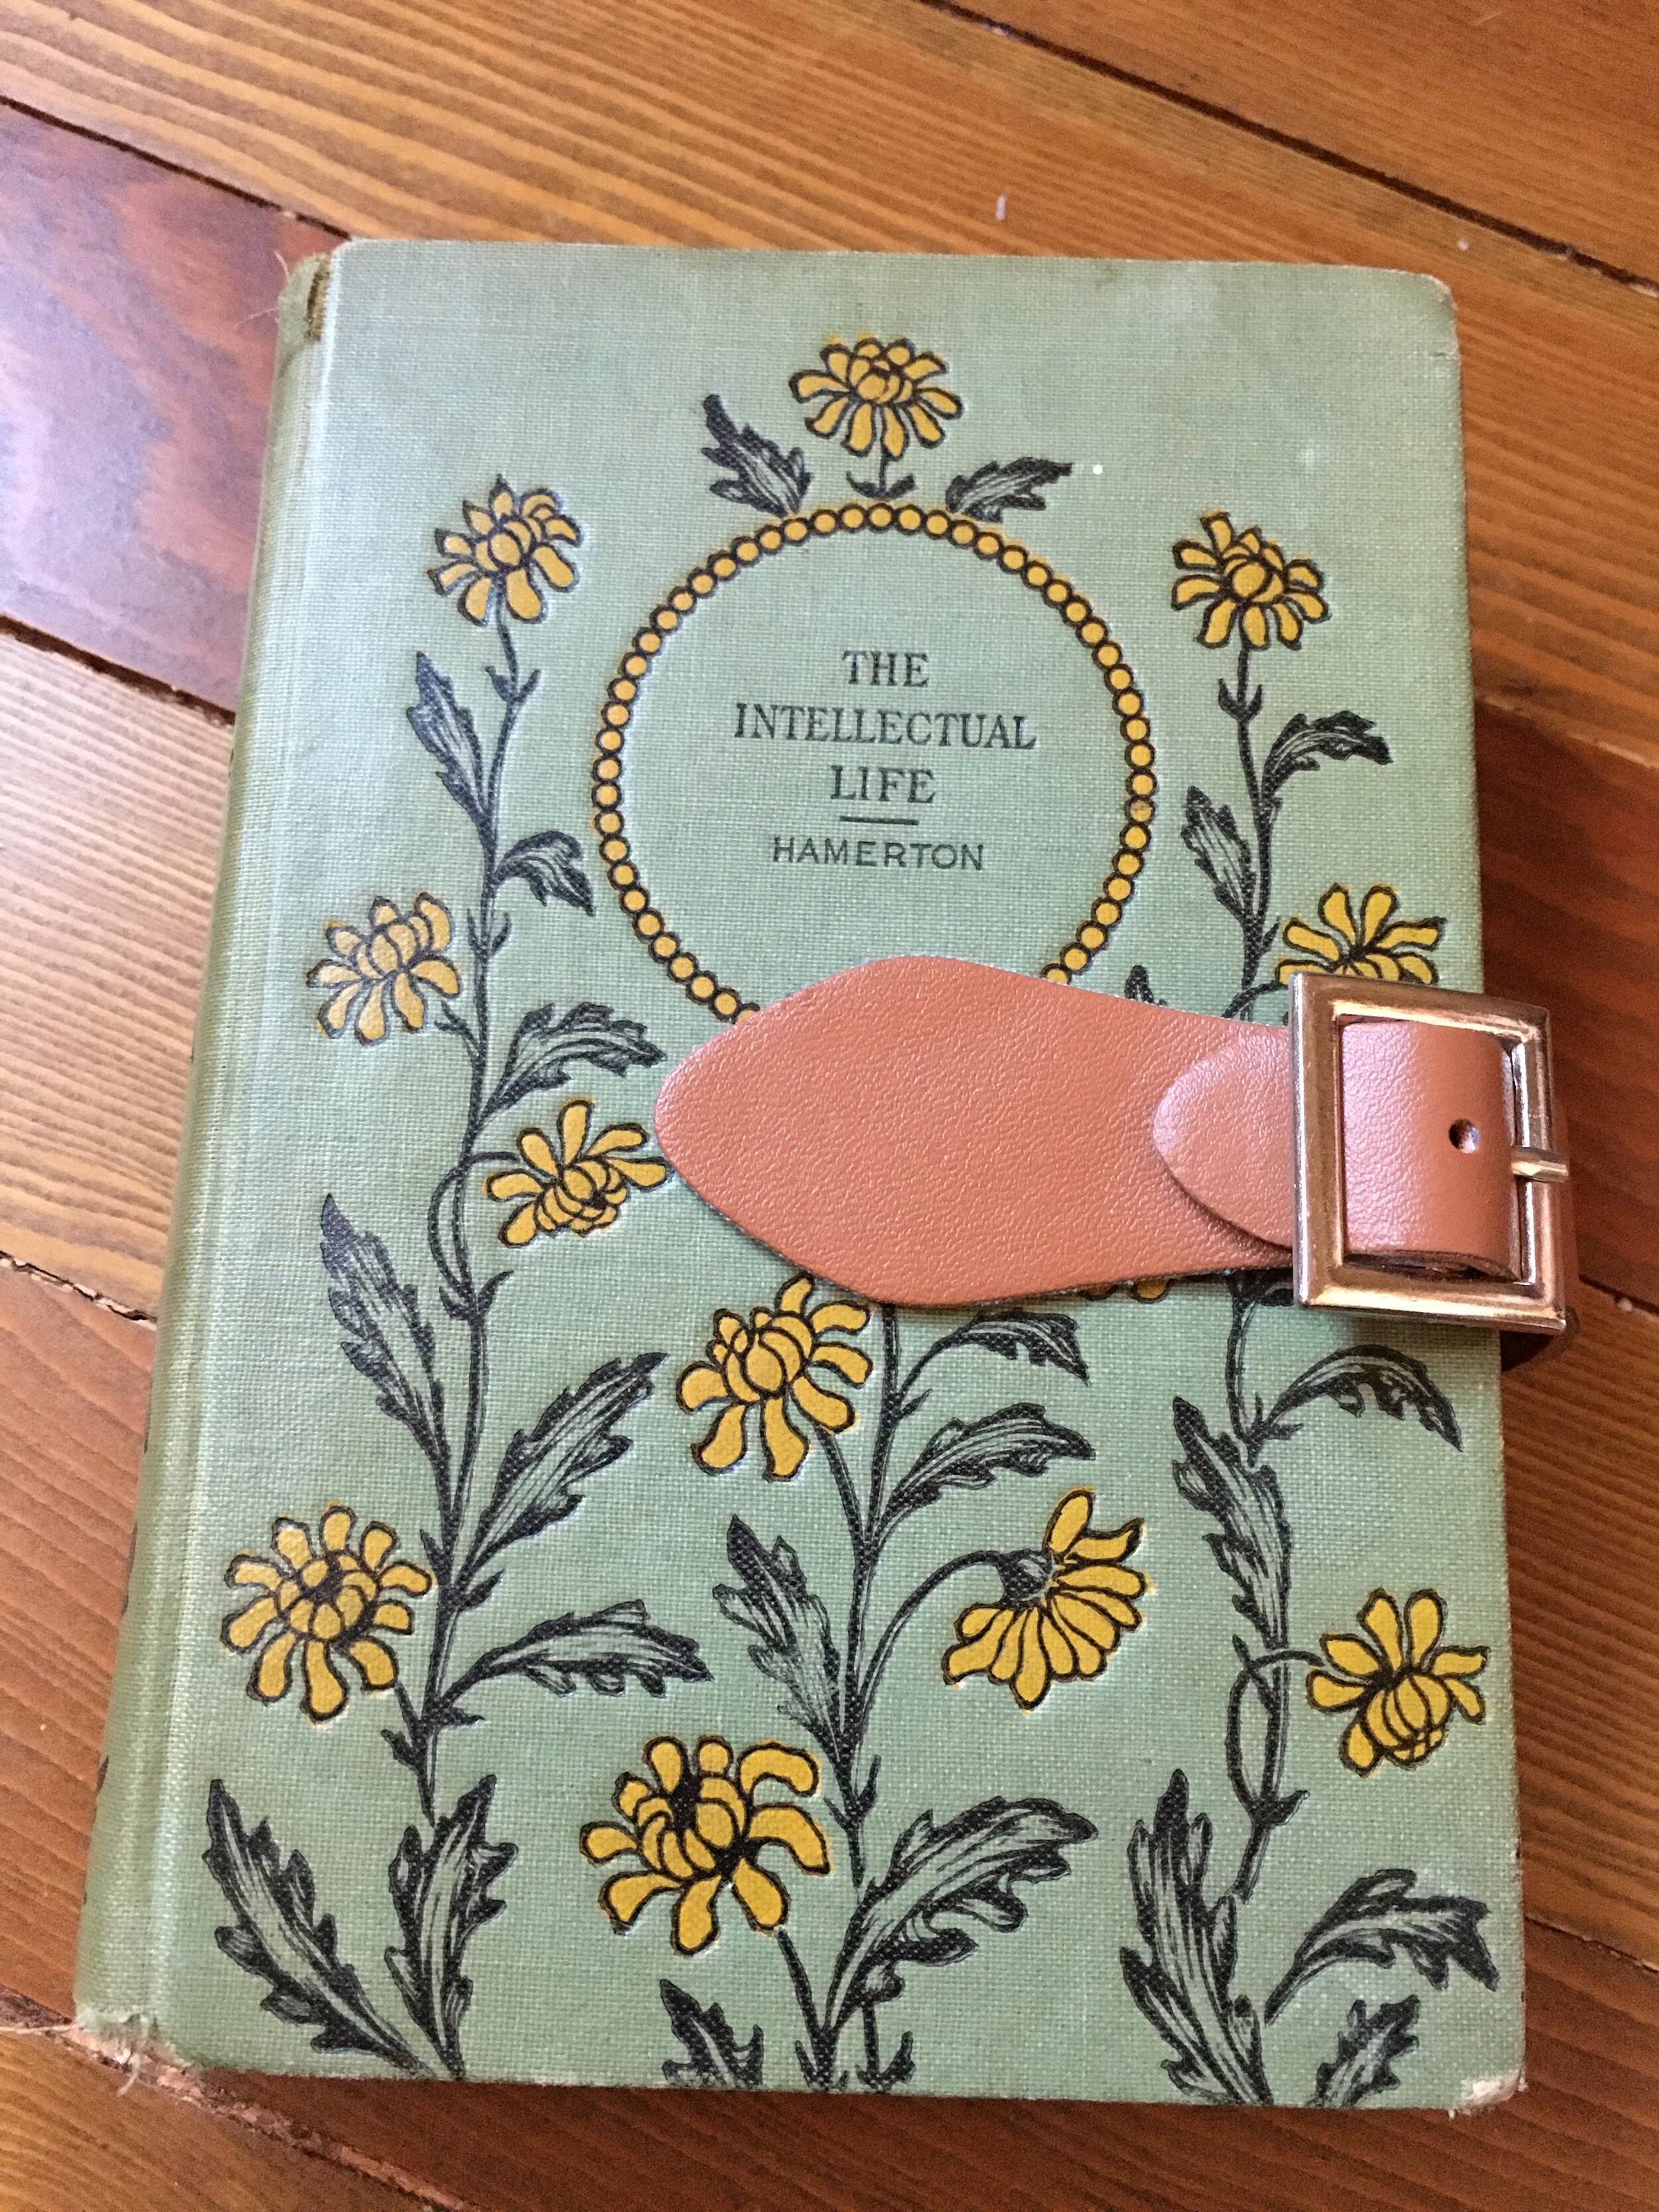
I found an adorable book in the perfect size to hold my card wallet and a mask. Being the cover was already semi-detached, it made it much easier for me to make the first cut. I decided to gather a few supplies and set to work.

Just start!
It took a bit of gluing , cutting (and patience!) to hollow out the book. But it’s very doable for anyone with the correct supplies.
If you’ d like to see a step by step slideshow of my process click the button below.
Use it!
Once I completed my project I of course took the customary time to admire it!
Then I transferred my card wallet inside and now I have the joy of carrying a little book with me where ever I go. It’s especially pleasing when heading to somewhere mundane like the grocery store.
Hand Sanitizer stand
This was the stool that greeted you just inside our front door as you paused to apply hand sanitizer during the height of the COVID pandemic.

This project was fairly simple though it did require some delicate detail work.
We bought a stool from a second hand shop, flipped it over and detached the seat from the stool legs. Then we stripped the cushion off and painted the wood.

It was kind of time consuming cutting out all the superhero images we found in old comics and advertisements, but if you like detail work it’s not so bad. And it’s quite fun placing them in and around each other to fill in the space.

After we had a layout we were happy with we then gently lifted the edges of the images and applied glue to the underside to actually keep them in place. Once done, we covered the entire top and sides of the wood seat with a few layers of Mod Podge to seal the images in. Then we re-attached the seat to the stool legs.
This stool lasted over 2 years in a very high traffic area but was eventually ruined by all the sanitizer that dripped down onto it’s surface. Possibly a thicker layer of sealer could have been applied.
*Note: Turn off any fans and shoo curious kitties from the room! Or your feathery light paper images may soar to the floor before you glue them!
Wonder Woman Clock

This project was super easy, especially since this particular clock didn’t have any plastic covering it’s face.
I just needed a superhero image that I liked, of course it’s Wonder Woman! Then I grabbed a pair of scissors, scrap paper, a pencil, some glue and found a flat surface to set to work.
I didn’t want to deal with taking off the hands of the clock, but I needed a circle template so I took a scrap piece of paper (just a bit bigger than the size of the inside circle) and cut across from the edge to the centre-ish. This is not rocket science, you can wing it a bit. I slide this scrap piece of paper across the face of the clock, underneath the hands. The peg was able to slide in through the cut that I made so I could smooth the scrap piece of paper down flat and trace the circle of the face. I then cut the circle out as carefully and smoothly as I could.
As my Dad always says, it’s measure twice, cut once! So after re-checking the circle template size against the clock face I placed it on top of my Wonder Woman image and positioned the image how I wanted, then I traced around the circle and cut her out. Including the cut across from the outside of the circle to the centre peg spot.
To finish up I applied glue to the back of my Wonder Woman image and slid her into place.
Voila!